Launch Soterre PBI Analyzer
How to download, launch, and start using Soterre PBI Analyzer on your machine.
System Requirements
| Requirement | Details |
|---|---|
| Operating System | Windows 10 or later (x64) |
| Browser | Any modern browser (Chrome, Edge, Firefox) |
| Network | Internet connection required at launch (license check) and for Power BI Service features |
Report analysis runs locally on your machine. A working internet connection is required each time the app opens, because the license is validated online.
Download and Launch
Download the latest Soterre PBI Analyzer release (
.ziparchive) provided by our team.Extract the archive. Inside you will find:
PBI Analyzer.vbs— the launcher (this is what you run)core\— folder with the application itself (soterre-pbi-analyzer.exe)
Double-click
PBI Analyzer.vbs. The analyzer starts in the background — no terminal window — and your default browser opens automatically at:http://localhost:4533
Tip: If the browser doesn't open within a few seconds, open it manually and go to
http://localhost:4533.
Activate your license
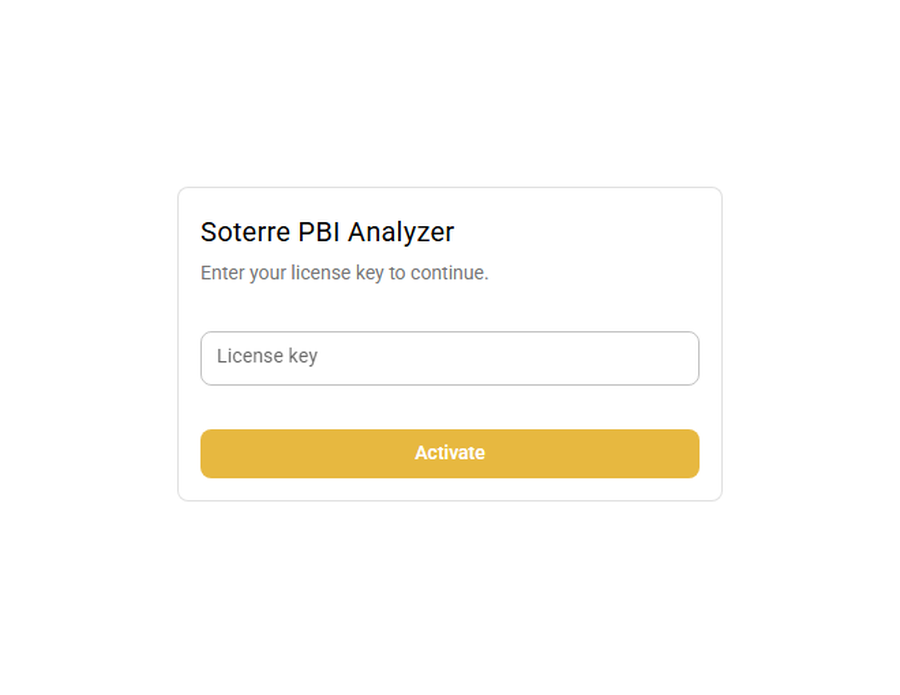
On first launch the analyzer opens on the activation screen. Paste the license key provided by our team and click Activate. The key is stored locally, so you only do this once per machine.
Don't have a key yet? Contact our team to request one.
Stopping the analyzer
The analyzer keeps running in the background until you stop it. To stop: open Task Manager (Ctrl+Shift+Esc) → find soterre-pbi-analyzer.exe → End task. Starting it again is just a double-click on PBI Analyzer.vbs.
Alternative: launch with a visible console
If you want to see the server log (for example, when reporting an issue), skip the .vbs and run core\soterre-pbi-analyzer.exe directly — a terminal window will open with the startup log. Keep it open while using the application; closing it stops the server.
Two Ways to Analyze Reports
Once the UI is loaded, you have two options:
Option A — Import a Local File
Use this when you already have a Power BI template on your machine.
On the main screen, in the Initialize Quality Assessment card, click Select a file.
Select a file from your computer. Supported format:
Format Description .pbitPower BI template file To analyze a Power BI Desktop report, save it as a
.pbittemplate first (File → Save As → Power BI template). Native.pbixfiles are not accepted by the importer.Maximum file size: 100 MB.
The analyzer will process the file and display a full report — data model structure, visual statistics, unused elements, duplicates, and more.
Option B — Connect to Power BI Service
Use this to pull reports directly from your organization's Power BI tenant.
After you have your service principal credentials ready (see Set Up Power BI Service Credentials), add a tenant in the app:
Go to Settings in the upper menu.
At the bottom of the connections list, click the + (add connection) button.
Fill in the form:
Field Required Where to Find It Display Name Optional Your choice (e.g., "My Organization") Tenant ID Yes Azure Portal → Entra ID → Overview → Directory (tenant) ID Client ID Yes Azure Portal → App registrations → your app → Application (client) ID Client Secret Yes Copied when creating the secret (shown only once) Metrics Workspace ID Optional* URL of the Fabric Capacity Metrics workspace (GUID after /groups/)Metrics Dataset ID Optional* URL of the Fabric Capacity Metrics dataset (GUID after /datasets/)*Optional — without these, the Capacity module won't provide any data.
Click Add. The tenant will appear in the list, and you can start browsing its workspaces.
Once connected, you can browse workspaces, select datasets and reports, and run the analysis remotely.
First time connecting? Follow the Set Up Power BI Service Credentials guide to create and configure the required Azure AD application and permissions.